With live streaming, you can start a live broadcast within an area you’ve created. Those visiting your area will be able to watch your live stream as a viewer.
Note: A camera and microphone are necessary to use this feature. Please use the camera and microphone built into your PC or external devices. The use of virtual cameras in apps such as OBS Studio is also possible. Certain features will be available even if only one device is set. As a viewer, setting up devices is not necessary to join a live stream.
When Live Streaming
In order to ensure a comfortable experience for everyone, we ask that live streamers and viewers refraining from using words or having conversations that may cause discomfort to others.
Where You Can Live Stream
Live streaming can be performed using objects set up for live streaming in an area you’ve created.
Learn how to set up objects for live streaming here.
Difference Between Live Streamers and Viewers
- Live streaming can only be performed in areas you’ve created.
When visiting other areas, clicking on live streaming objects will set you as a viewer. - Only the live streamer’s camera and microphone will be live streamed.
Live stream viewers’ cameras and microphones will not be live streamed.
Voice Volume and Microphone/Camera Settings
To learn how to adjust the voice volume settings and set up a microphone and camera, please see this tutorial. If apps such as OBS Studio are used, be sure to set the camera used to the virtual camera.
Starting/Viewing a Live Stream
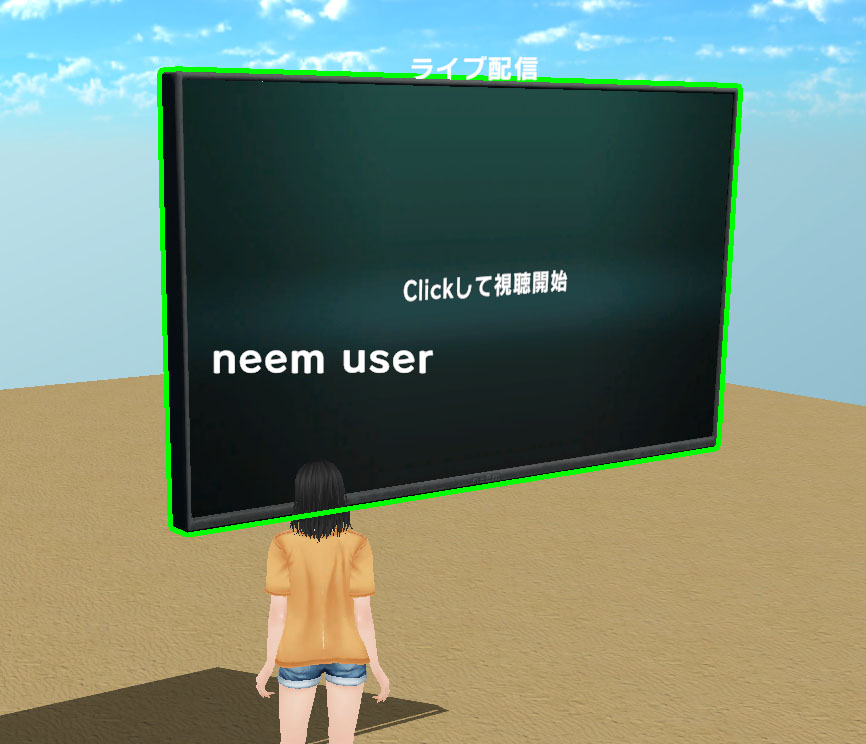
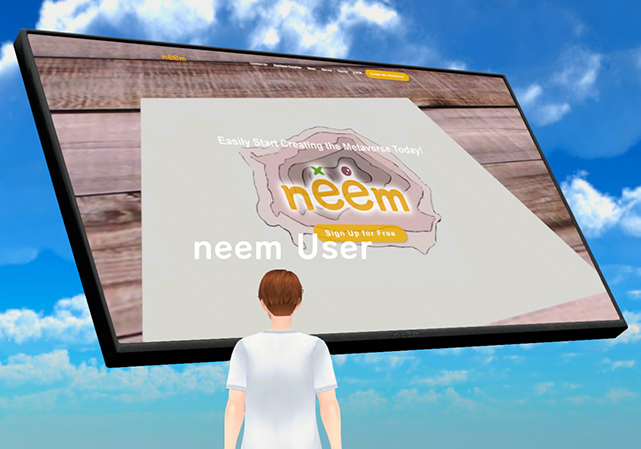
While in an area, you can start or view a live stream by selecting an object that is set up for live streaming. Once you’ve found a live streaming object, click on it to start or view a live stream.
- Objects that can be selected will be outlined in green when you hover over them with your cursor.
- Objects set to be used for live streaming will have their room name displayed above them.
- Currently, the only object that can be set up for live streaming is the Live Screen.
Starting or Viewing a Live Stream
After clicking the object, a window will appear. Click OK to start or view the live stream. Depending on whether you are going to start or view a live stream, the text displayed will differ.
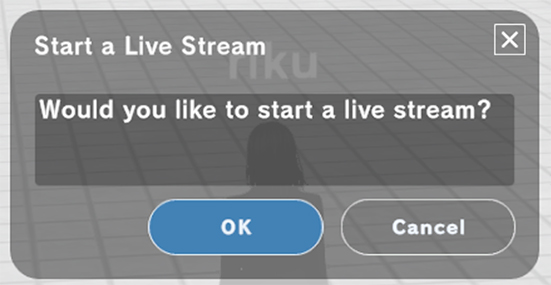
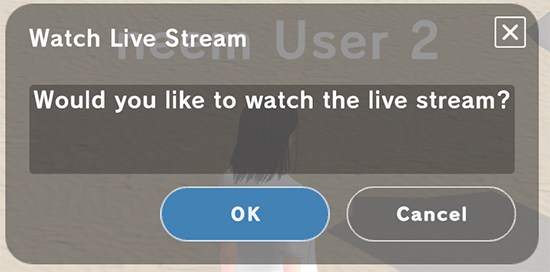
And with that, the live stream will begin. Once the live stream starts, the Live Screen will display the camera feed.
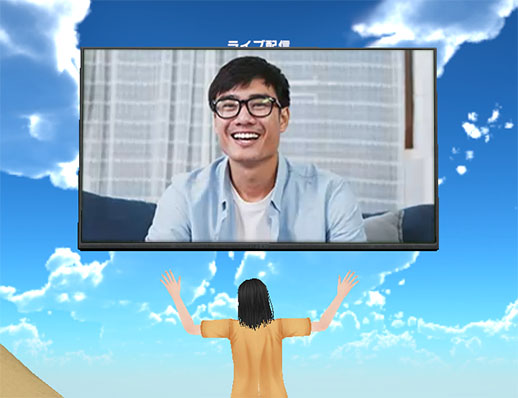
Turning Your Microphone or Camera On and Off
From the buttons at the bottom of the screen, you can you can control your live stream’s mic and camera. To learn more about the buttons at the bottom of the neem Browser screen, click here.
- Mic Button
Pressing this turns the microphone on or off.
Note: In case you are not already using voice chat, it is easy to forget to switch the microphone on, so please keep this in mind. Learn about voice chatting in this tutorial. - Camera Button
Pressing this turns the camera on or off. By turning this off, the Live Screen will stop display your camera’s feed.
Ending/Leaving a Live Stream
Click Leave at the bottom left of the screen to stop/leave a live stream.
About Live Streams When Playing as a Guest
Live streaming in unavailable for guests. Learn about guest login in this tutorial.
In this tutorial, we briefly went over live streaming in neem. In addition to regular live streams, you can make use of this features for conducting webinars and more.
For both streamers and viewers alike, please be sure to conduct yourselves accordingly and have a positive, respectful and enjoyable experience together.