In this tutorial, we go over how to add and set up objects for live streaming. Users can only perform live streams from their own areas. If you are looking to perform live streams in neem, be sure to follow this tutorial to learn how to set up live streaming in an area.
Learn how to start a live stream in this tutorial.
Obtaining the Live Streaming Object
To set up a live stream, you will need a specific object. This object is used to project live video feeds to other users. The object needed is the Live Screen. It can be purchased from the shop, so be sure to purchase one.
Map Editor
Placing the Live Screen on a Map
Once you have purchased the Live Screen object, let’s get started with setting it up. First, open the Map Editor for the area you would like to place it in. With the Map Editor open, let’s add the Live Screen to the map.
Note: Object names and descriptions are currently displayed in Japanese only.
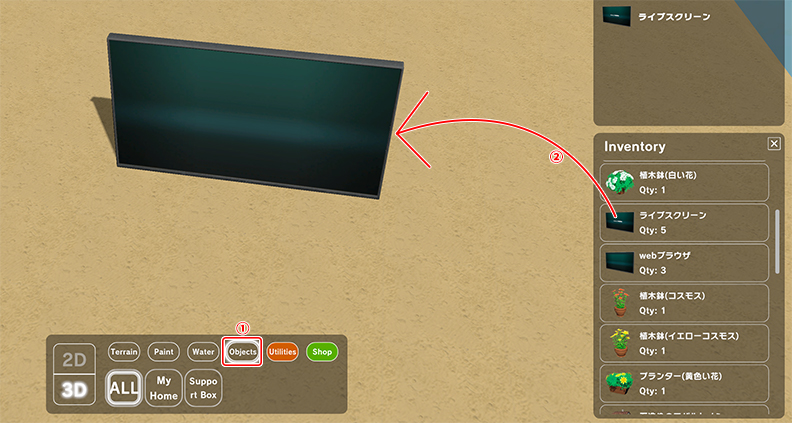
- From the tools menu, select Objects.
- From the Inventory menu, select the Live Screen. Once selected, place it on the map by clicking anywhere.
Setting Up the Live Screen for Live Streaming
Now with the Live Screen added, let’s set it up for live streaming.
Opening the Object’s Settings Menu
Select the Live Screen to bring up a menu. From the menu, click on Settings.
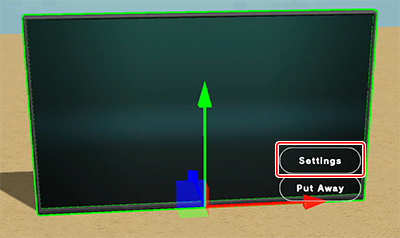
This will bring up the Object Settings window. Now, we can set the object to be used for live streaming.
Setting the Object Up for Live Streaming
Let’s begin setting up the object for live streaming. Start by clicking on the Function dropdown menu.
Note: Depending on the selected function, the related options/content displayed in the Settings menu may vary.
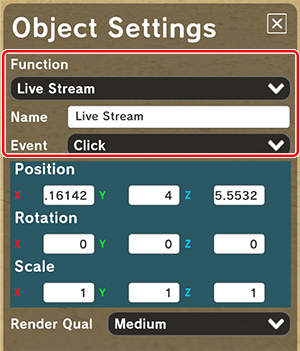
- Function
Select Live Stream. - Event Trigger
Select Click.
By setting the event trigger to Click, clicking this object while in play mode will call the function set to it. - Room Name
The text entered here will be the live stream’s room name. We recommend naming it something that explains the content or purpose of the live stream.
Save Your Area
We are now finished setting up the object. Let’s save our changes and enter the area!
Checking That Live Streaming Works
Now that we have entered the area, let’s make sure everything works.
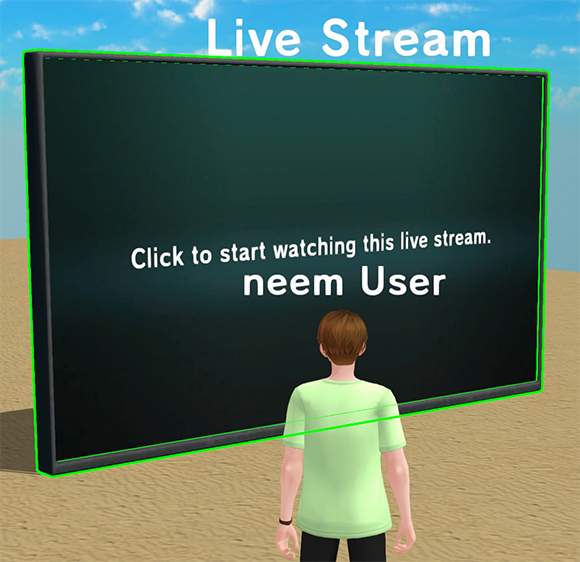
If set up correctly, clicking the object should start a live stream!
Learn how to start a live stream here.
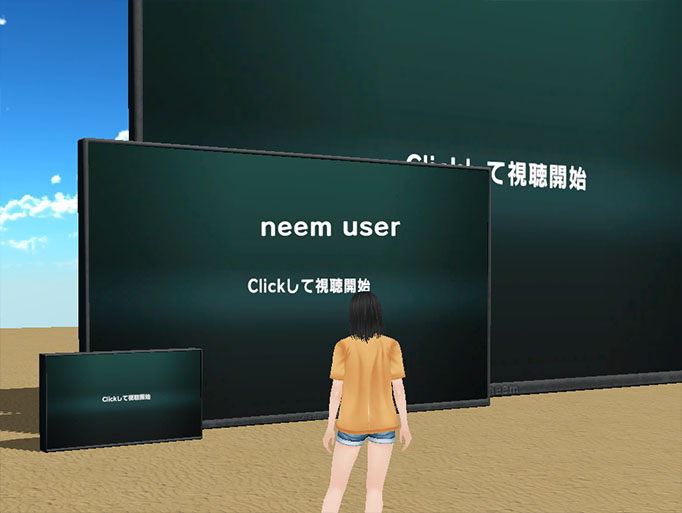
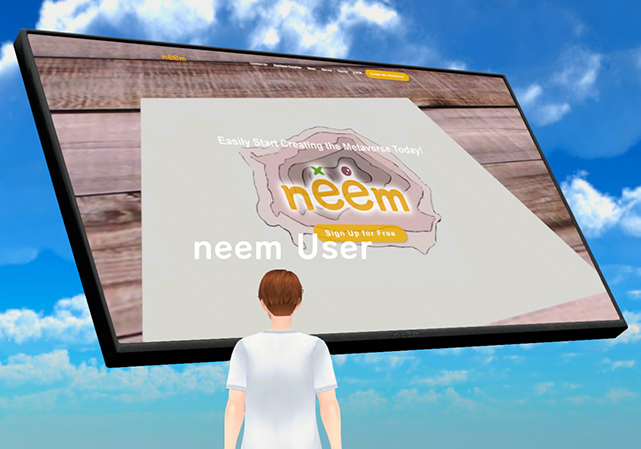
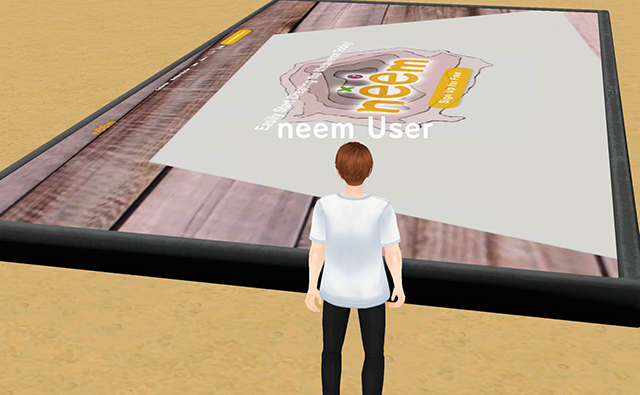
Placing Live Screens in Various Ways
Since Live Screens are objects, they can be placed around areas in various ways. The object’s translation, rotation and scale can all be adjusted using the transform gizmo that displays on the object. These settings can also be adjusted using the transform settings under the Object Settings.
This concludes how to add Live Screens to an area in order to be able to live stream. Make use of live streaming for conducting live performances, seminars and more!