In this tutorial, we cover how to edit an area’s settings. We also go over how to delete an area.
Opening an Area Page
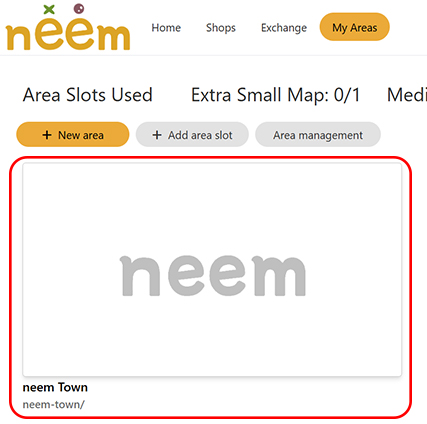
From the My Area page, you’ll be able to select an area you’ve created. Selecting an area will bring up its area information page. Here, you’ll be able to view and edit the area’s settings.
About the Area Page
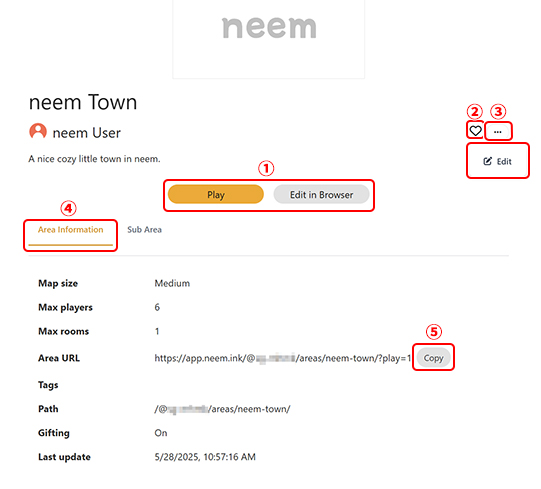

Area Page Buttons
- Play Button
Starts up neem Browser and enters the area. - Edit in Browser Button
Opens the Map Editor. This is where you can edit an area. - Favorite Button
Lets you favorite an area. - Options Button (…)
Displays options specific to the area page you’re currently viewing.
・Edit Button
If this is your own area, this button will appear here. You will be able to change the settings of the area. Learn about what settings you can change here. - Area Information Tab
Changes the content below it to display the area’s information. - Copy Button
Copies the area’s URL to your clipboard. Posting this URL on social media will let anyone access the area by clicking the link. - Sub Area Tab
Changes the content below it to display the sub area related information. - New Sub Area Button
Adds a new sub area to the area of the area page you are currently on. Sub areas are created in the same way as normal areas. - Sub Area
Displays the sub area’s page. The information displayed here is the same as a normal area.
What Can Be Edited
From the area page, you can edit the following area information. You can also delete an area. Be sure to press the Save button to keep any changes you’ve made.
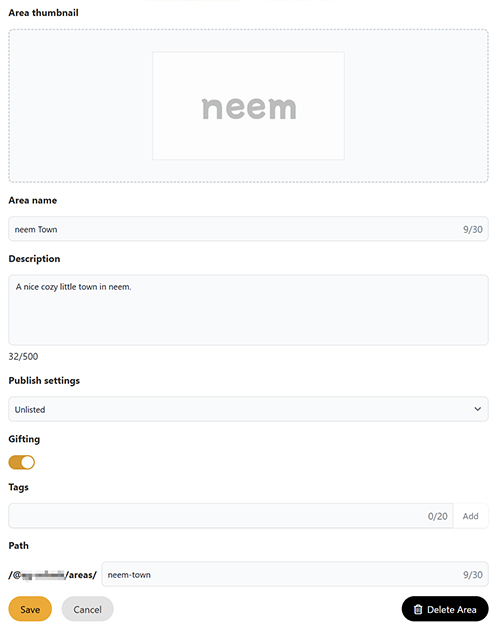
- Thumbnail
Set a thumbnail for the area. Set a thumbnail that’ll get other users interested in your area!
Tip: You can set thumbnails using photo mode. Learn about photo mode here. - Area Name
Rename the area. - Description
Write a description to introduce your area.
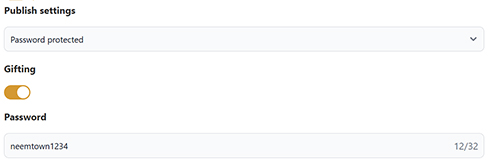
- Publish Settings
Change the publish settings for an area.- Public
Sets it so anyone can visit your area. Your area will also be listed in the All Areas list and can be found via search. - Unlisted
Sets it so this area can only be visited via a URL. Your area will not be listed in the All Areas list and cannot be found via search. - Password Protected
Sets it so a password must be entered to the area. This setting works the same as Private. Only users who know the area URL and password can enter it. - Private
Sets it so that only the area creator can enter the area. Your area will not be listed in the All Areas list and cannot be found via search. Users will also not be able to access it via the area URL.
- Public
- Password
This option only appears when the Password Protected option is set. Here, you can set the password that is needed to access the area.
- Tags
Freely add keywords that can be used for search. Enter keywords you’d like to add to your area. Press the Add button to the right to add it.- If you want to add more than one tag, simply follow the same steps for each additional tag.
- Note: When searching for areas using tags, you need to add a # before the tag. However, when setting tags, you don’t need to include the #.

- Paths
Edit the path (slug) set for an area. For sub areas, the parent path set will be included in the URL.
Note: As of November 24th, 2024:- Changing the path will alter the area’s URL. URLs you may have previously shared will no longer work.
- You will encounter difficulties accessing sub areas using the standard method due to sub area paths remaining tied to the previous parent’s area path. We are working on a solution to address this issue in a future update.

- Cancel Button
Reverts any changes made and returns you to the previous page. - Save Button
Saves the changes you’ve made.
Be sure to press save after making any changes to the area settings.
- Delete Button
Deletes the area data. Once deleted, the area cannot be recovered. Delete at your own risk.