In this tutorial, we go over how to register a payment method and how to purchase paid em and Meta.
Note: Please register your payment method using a web browser.
As of 4/10, a bug where registering a payment method using the Virtual Screen object within neem Browser results in the page not changing to the next page properly once registration has been completed. We sincerely apologize for this inconvenience but ask that you register a payment method using an actual web browser until this issue has been resolved.
How to Set Up a Payment Method
In this section, we go over how to set up a payment method.
Setting Your Date of Birth From the Account Settings
For users who registered a neem account prior to the maintenance completed on 4/10/2024, please set your date of birth from the account settings page.
Note: Accounts registered after the maintenance completed on 4/10/2024 will need to set their date of birth when registering an account.
How to Set Your Date of Birth
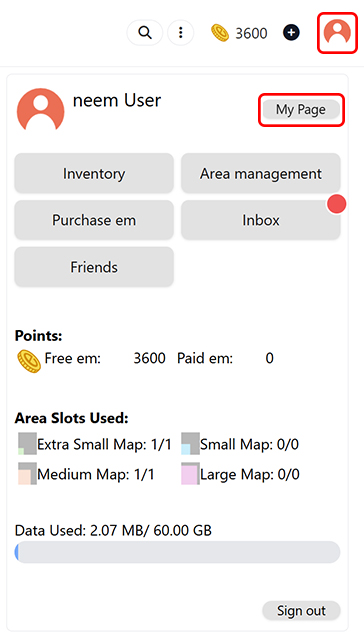
Click on the profile icon at the top right of the screen and open your My Page.
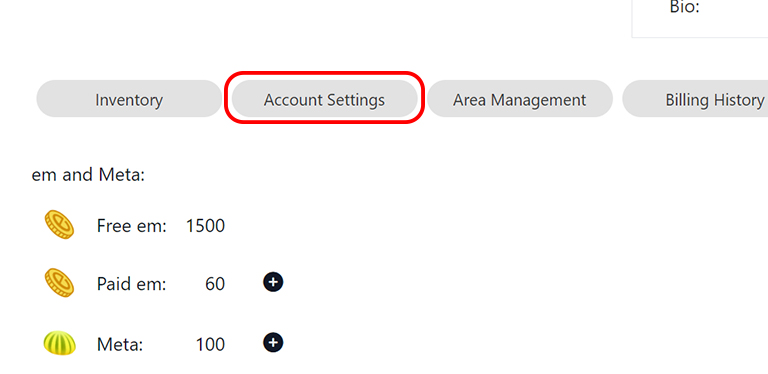
Click on Account Settings to open the Account Settings page.
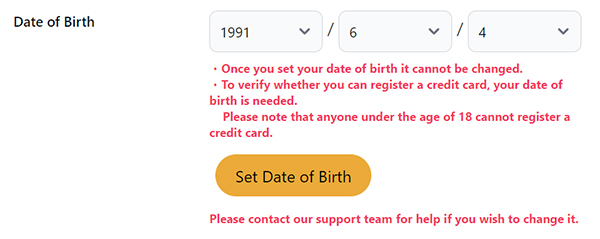
Note: Once you’ve set your date of birth, it cannot be changed. Be careful not to enter the incorrect date of birth.
After entering your date of birth, click on Set Date of Birth to finish setting it.
Registering a Payment Method
In this section, we cover how to register a payment method.
As of 4/10, the only payment method available is credit card payment.
- Accepted credit cards
- VISA
- MasterCard
- JCB
- American Express
- Diners Club
How to Register a Credit Card
Note: To register a credit card, you will need to have your date of birth set. Learn how to set up your date of birth here.
Click on the profile icon at the top right of the screen and open your My Page.

Click Payment Method to open the Payment Method page.
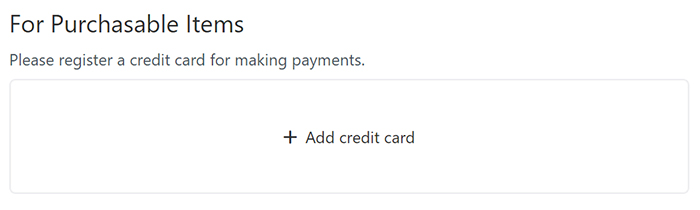
Under For Purchasable Items, click Add credit card to begin registering a credit card.
Note: This page currently only displays in Japanese.
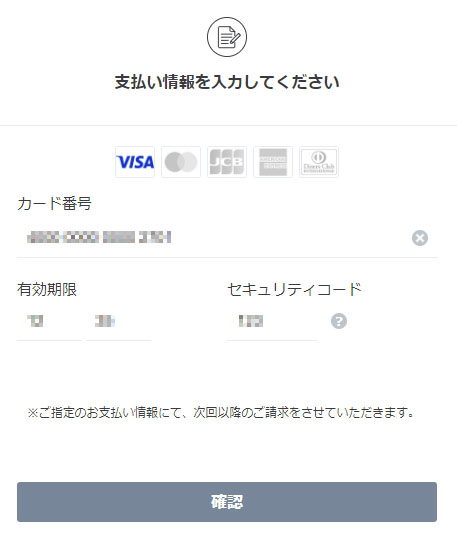
Follow the instructions listed on the registration page to complete your credit card registration.
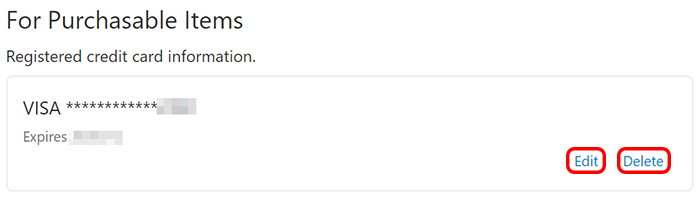
With that, credit card registration has been completed. Your credit card information will now be displayed along with an Edit and Delete button.
Paid em and Free em
How Your em Balance Is Displayed
Your em balance is displayed as the total between your Paid em and Free em.
Where to Check How Much em You Have
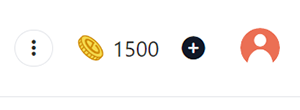
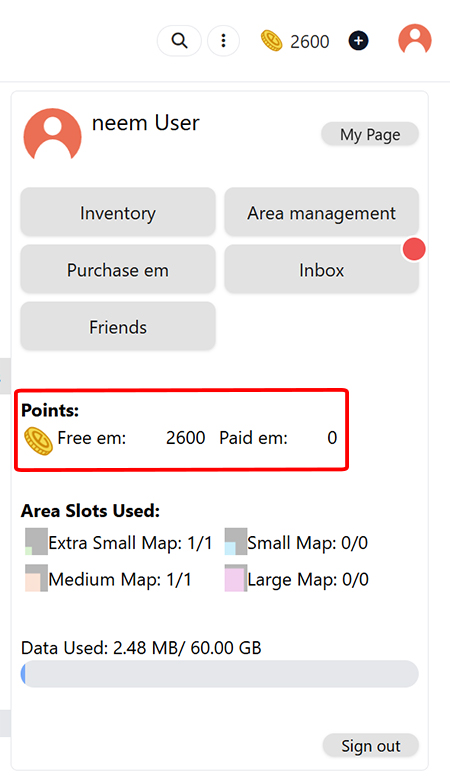
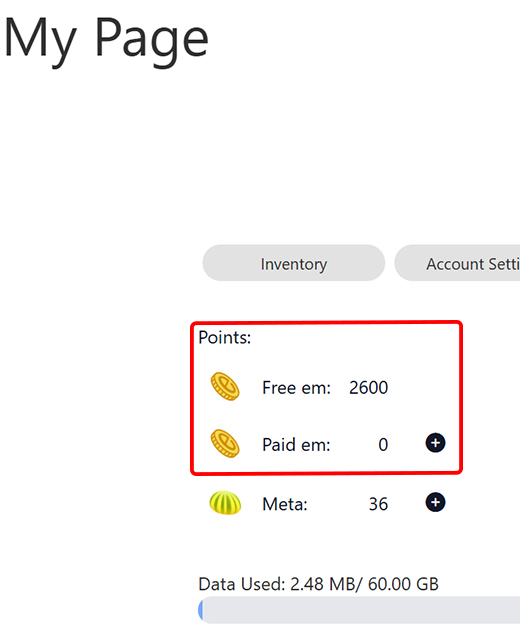
You can check how much Paid em and Free em you have from the Account Menu and from your My Page.
(For instructions on how to open each page, please refer to the steps in How to Set Your Date of Birth.)
Free em Is Used Before Paid em
When making purchases , any Free em you have will be used to make purchases before Paid em is used.
Purchase Scenario:
- Let’s say you have 100 Free em and 100 Paid em (200 in total).
- You then purchase an item that costs 150 em.
- Since you only have 100 Free em, the purchase will be made using 100 Free em and 50 Paid em.
- After the purchase is made, your em balance will consist of 0 Free em and 50 Paid em.
Items That Can Only Be Purchased Using Paid em
neem has items that can only be purchased using Paid em. These items cannot be purchased using Free em, so please be aware of how much Paid em you have remaining when purchasing these items.
Caution: Paid em Has an Expiry Date
Paid em has an expiry date, so please keep this in mind when purchasing/using it. Paid em that has had its expiry date pass will no longer be available for use.
Note: The expiry period is 170 days after the Paid em has been purchased.
- Each purchase of Paid em will have its own expiry date.
Making additional purchases of Paid em will not extend the expiry period for previously purchased Paid em. - When Paid em is used to make purchases, the oldest purchased Paid em will be used first.
- You can check the expiry date for Paid em you have purchased from the My Page > Purchase History page.


Purchasing Paid em
Here, we cover how to purchase Paid em.
Note: Paid em has an expiry date. Before purchasing Paid em, please check how much Paid em and Free em remains in your balance. To register a credit card, you will need to have your date of birth set. Learn how to set up your date of birth here.
How to Purchase Paid em
Click on the profile icon at the top right of the screen and open your My Page.

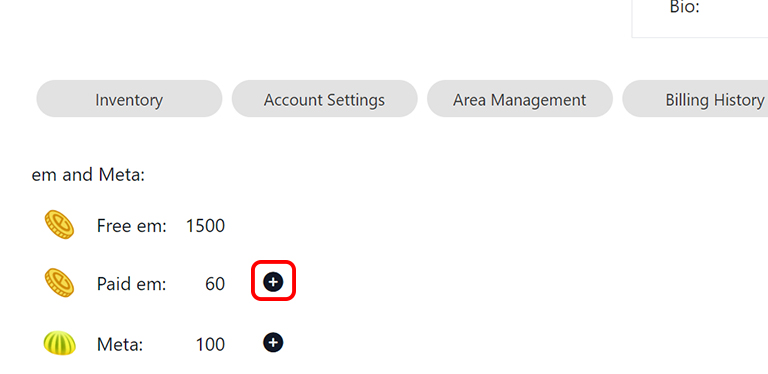
Click on either Purchase em or the + to the right of Paid em under em and Meta.
Note: The above image is for reference. The actual amount of em and price may differ.
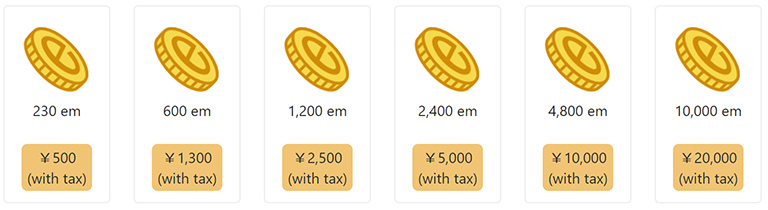
A list of em bundles will be displayed. Select the bundle you would like to purchase.
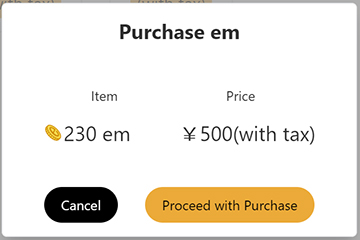
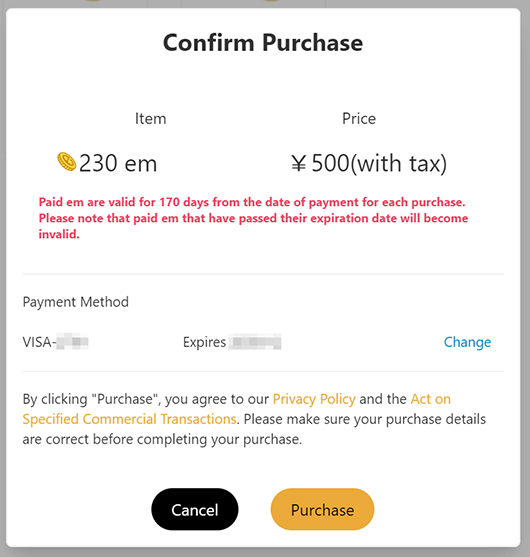
Note: The above image is for reference. The actual amount of em and price may differ. When making a purchase, be sure to check that the item selected is correct. Also, be sure to read both our Privacy Policy and Specified Commercial Transaction Law (applicable to those residing in Japan) before completing a purchase.
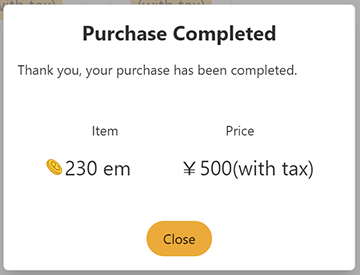
And with this, your purchase of paid em has been completed.
Purchasing Meta
In this section, we go over how to purchase Meta.
Note: Meta can only be purchased using Paid em.
How to Purchase Meta
Click on the profile icon at the top right of the screen and open your My Page.
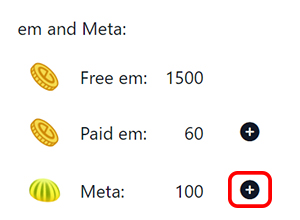
Click on the + to the right of Meta under em and Meta.
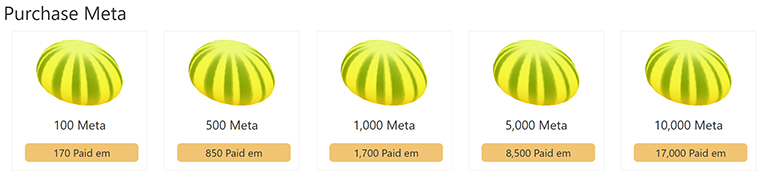
Note: The above image is for reference. The actual amount of em and price may differ.
A list of Meta bundles will be displayed. Select the bundle you would like to purchase.
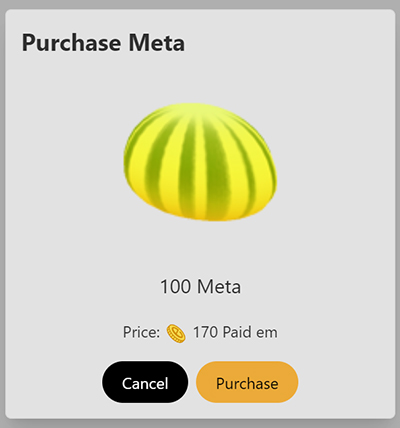
When making a purchase, be sure to check that the item selected is correct.
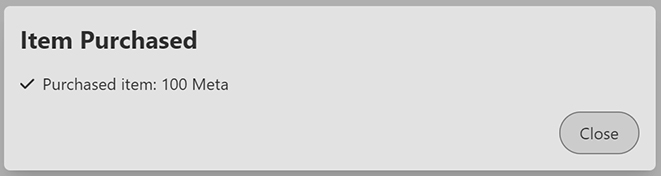
And with this, your purchase of Meta has been completed.