In this tutorial, we go over how to take photos using photo mode. Not only will you be able to take and save photos to your PC, but you will be able to set them as an area’s thumbnail.
How to Use Photo Mode
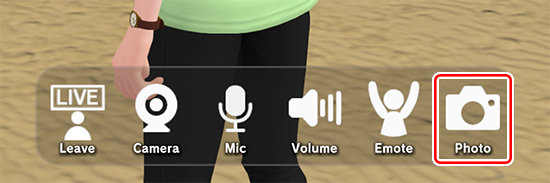
While in an area, click Photo at the bottom of the screen. This will open Photo Mode.
While in Photo Mode, the UI layout will change. Only the shutter button to the right of the screen and a close button at the top right of the screen will be displayed.
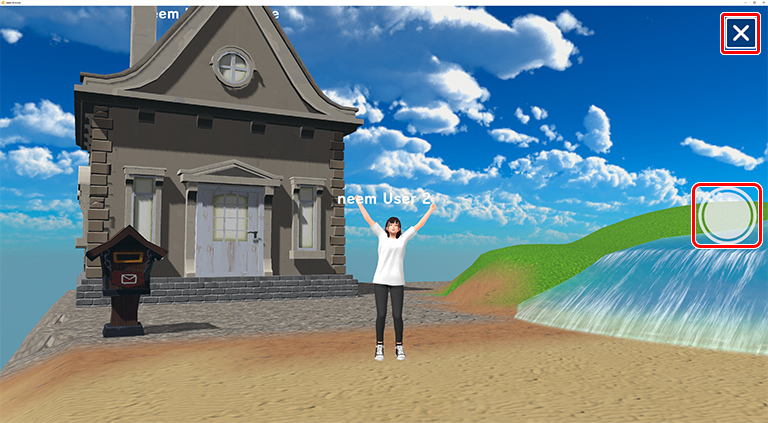
Pressing the shutter button will take a photo of the screen as is.
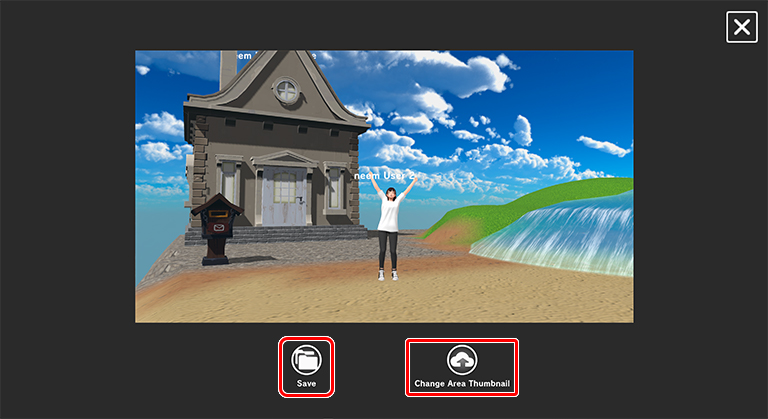
Saving a Photo or Setting It as a Thumbnail
With Photo Mode, you can either save images to your PC or set them as an area’s thumbnail.
- Pressing Save will bring up a Save As dialog. You can then save the photo to your PC.
- Pressing Change Area Thumbnail will immediately set the photo as the thumbnail for the area you are currently in.
Note: The Change Area Thumbnail option is only available while in areas you’ve made.

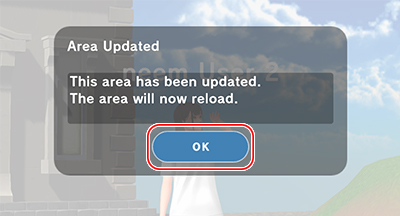
If you set the photo taken as the thumbnail for your area, the area will reload and you will return to the initial spawn point.
Note: When choosing Change Area Thumbnail, you will not be able to save the photo you took. This is because the area reloads upon setting the thumbnail. We are working to make it so that photos can be saved even if Change Area Thumbnail is clicked.